 Francisco E. Gonzalez
Real f-stops with the mia_lens_bokeh shader
How I drove mental ray's bokeh lens in Maya from a camera's real focal length and f-number, so render depth of field matched a photographic lens instead of being dialed in by eye.
F-number
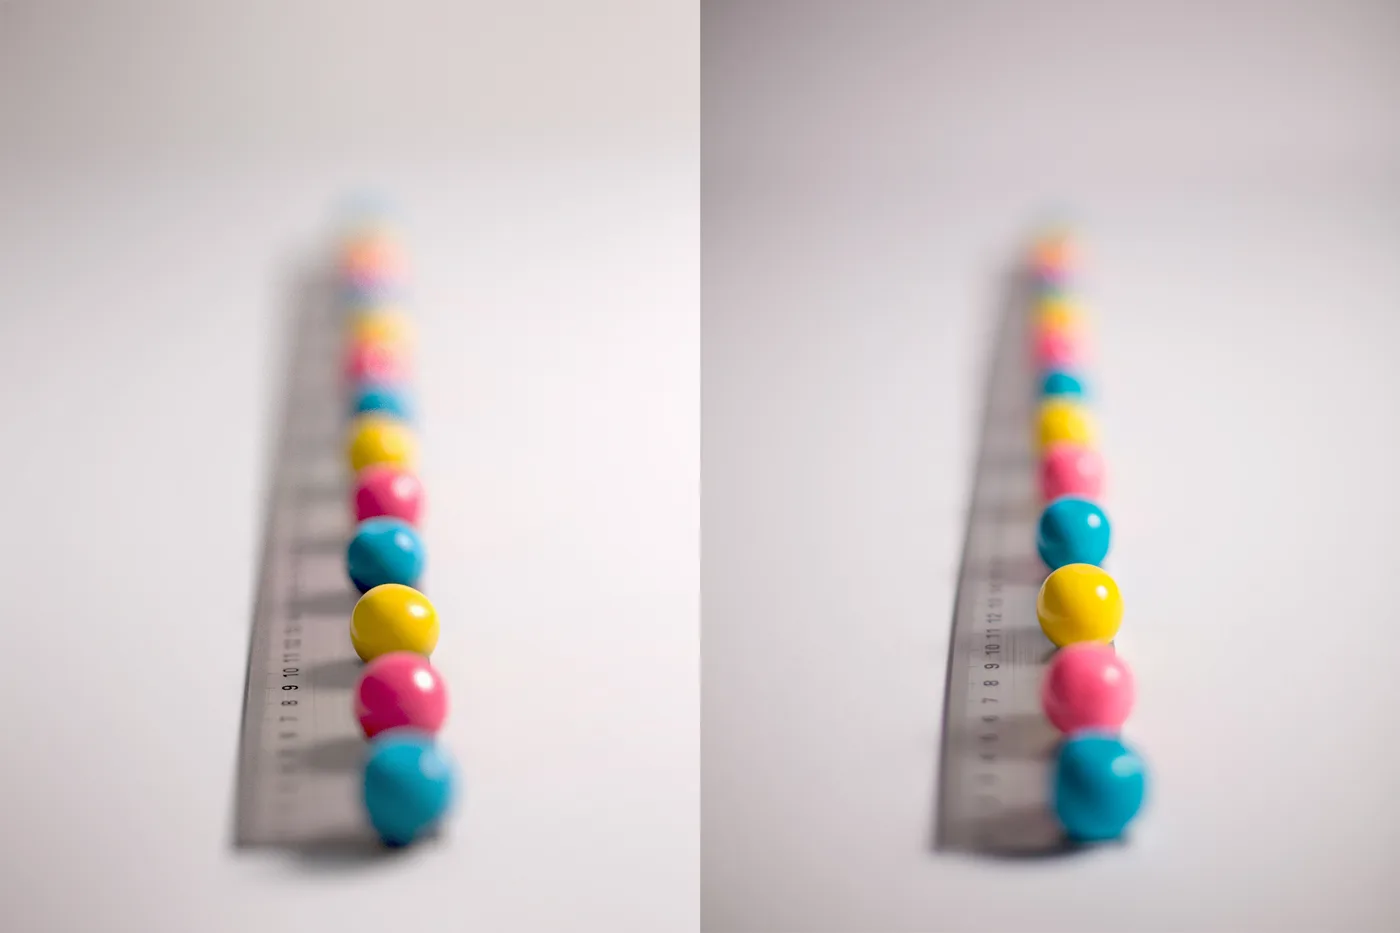
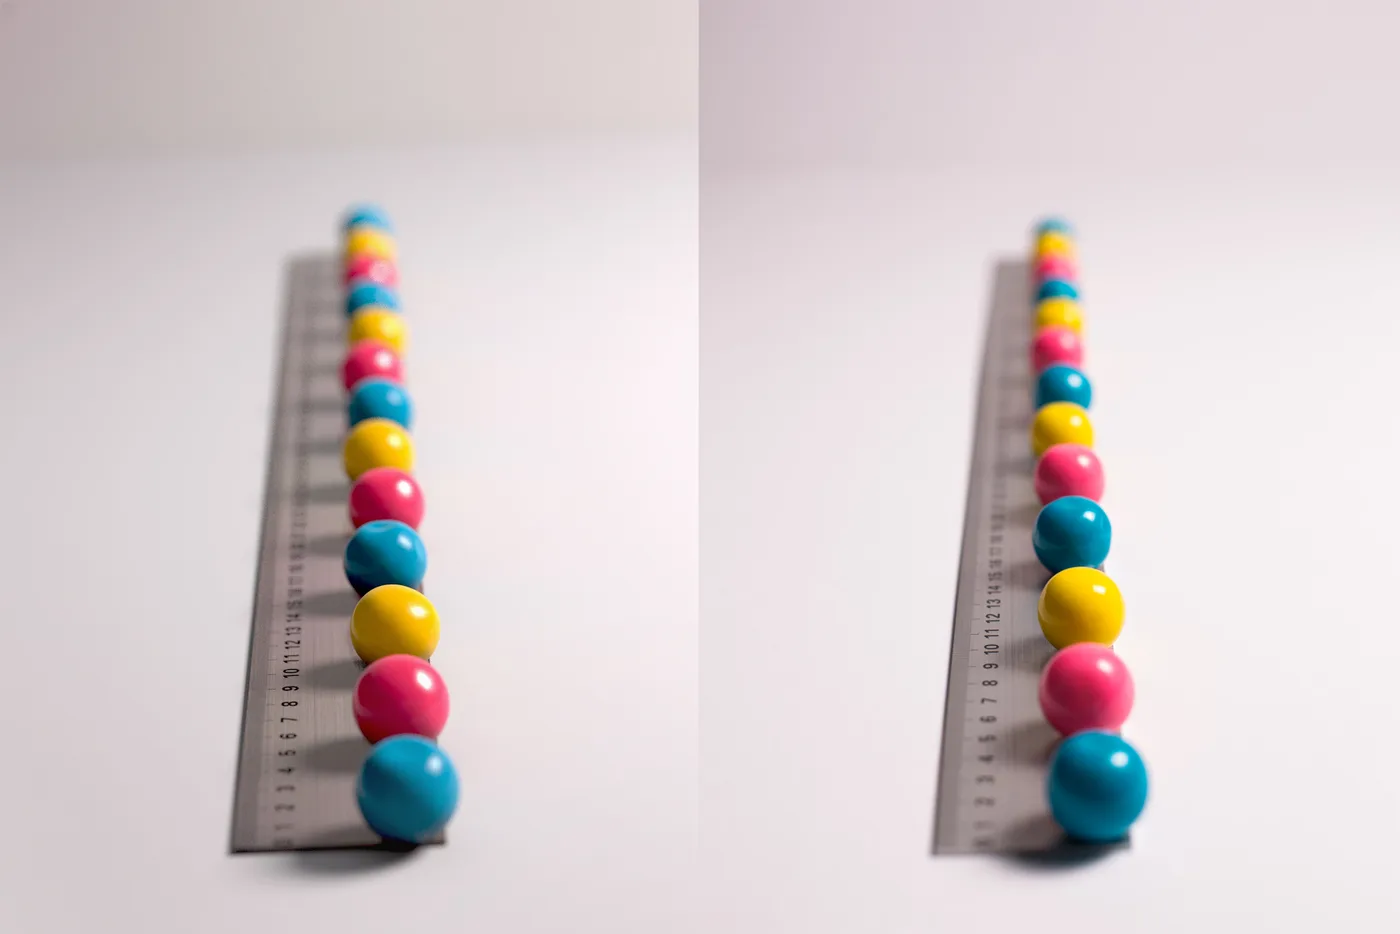
The f-number, or f-stop, controls how much depth of field you get. It is the lens's focal length divided by the diameter of its opening. A low f-number such as f/1.4 means a wide opening and a shallow depth of field, so only a thin slice of the scene is in focus. A high f-number such as f/8 means a small opening, and much more of the scene stays sharp.
F-stop examples
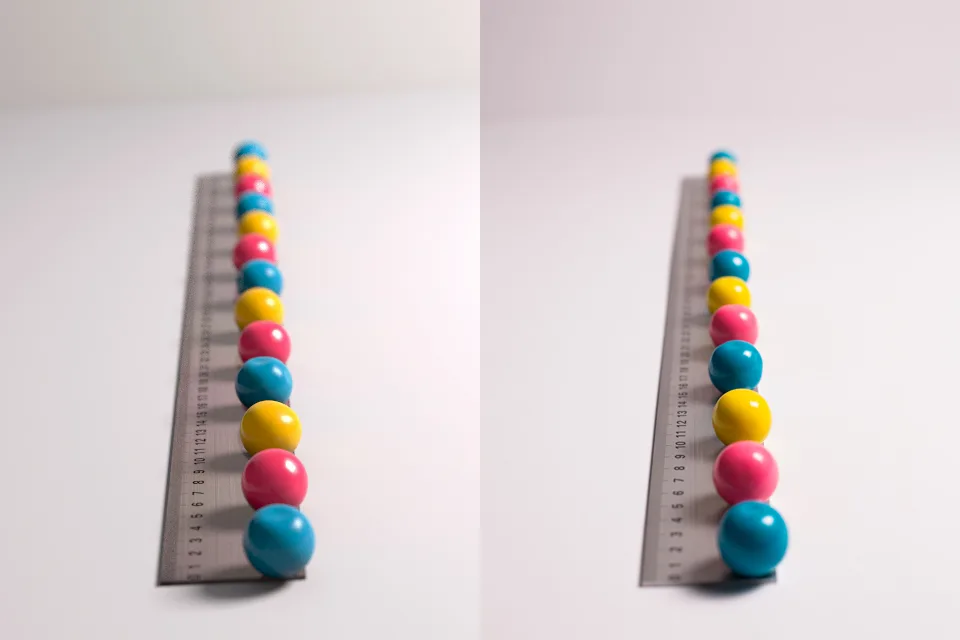
Bokeh lens parameters
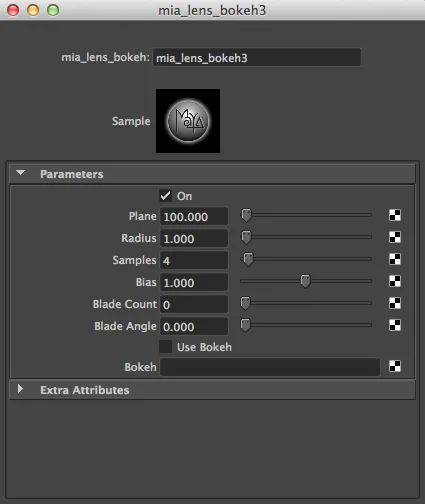
- Plane
- The focus distance: how far from the camera, in scene units, the subject is. Measure it with a Distance tool, or turn on Display › Heads Up Display › Object Details to read the distance from the camera to the selected object.
- Radius
- The size of the lens opening. A bigger radius gives a shallower depth of field and stronger blur. This is the value the setup below calculates from a real lens.
- Samples
- The quality of the depth of field. More samples give smoother, less noisy blur, and take longer to render.
- Bias
- Shifts how samples are spread across the lens. Raising it makes out-of-focus areas blur more and makes highlights spread into larger bokeh shapes.
Blade count and blade angle
With Blade Count at 0, the bokeh is a perfect circle, like an ideal lens. Setting a count turns it into a polygon, matching a real iris: 5 blades give a pentagon. Blade Angle rotates that shape. With 4 blades you get a diamond, and rotating it turns the diamond into a flat square.


Use Bokeh
Turning on Use Bokeh replaces the built-in shape with a map of your own. This is useful for stylized bokeh, or for faking chromatic aberration by using an image whose color channels are slightly offset, so highlights pick up colored fringes the way a real lens does.
Setup in Maya
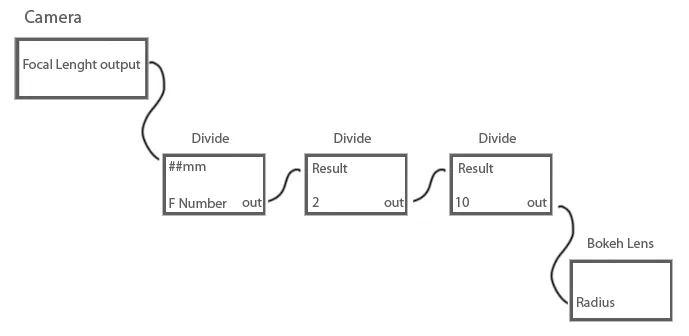
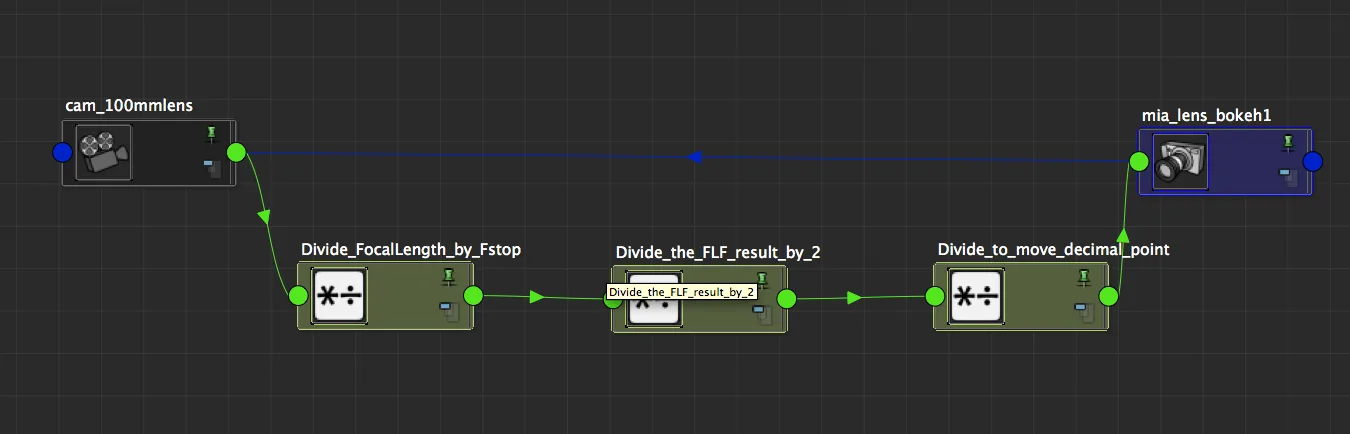
Select the camera, open its mental ray section, and connect a mia_lens_bokeh node as the lens shader. Then build a small node network that computes the radius from the camera's real focal length and the f-number you want:
focal length ÷ f-number = aperture diameter in mm · ÷ 2 = radius · ÷ 10 = mm to cm (Maya's default unit)
Create three multiplyDivide nodes and set each one's operation to Divide.
- Connect the camera's Focal Length output to Input 1 X of the first node.
- Type your f-number into its Input 2 X, and connect its Output X to Input 1 X of the second node.
- Type 2 into the second node's Input 2 X, and connect its Output X to Input 1 X of the third node.
- Type 10 into the third node's Input 2 X, and connect its Output X to the bokeh lens Radius.
If you have scaled your camera away from its default of 1, account for that scale too, since the radius is measured in scene units.